We will be using Disk Labels as an example, but any piece of metadata can be changed or added using these instructions.
1. The first step is to go to your Blackbird ingest server and open the "Forscene Load" program.
2. Go to the "Overview" tab and check if you see "Remote Cloud (tab visible)" as shown in the image. If you see "Remote Cloud (tab hidden)" instead, just click on this text to make the tab visible.
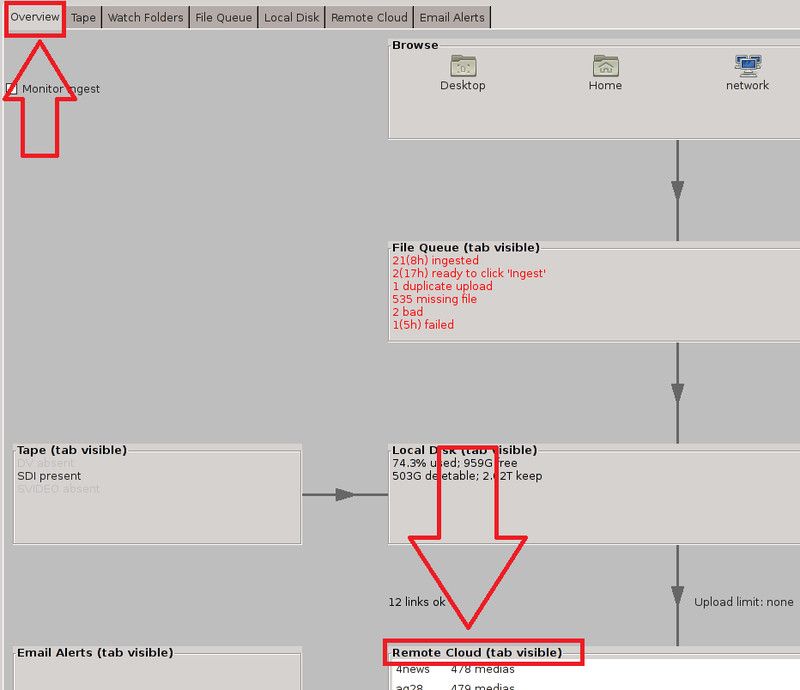
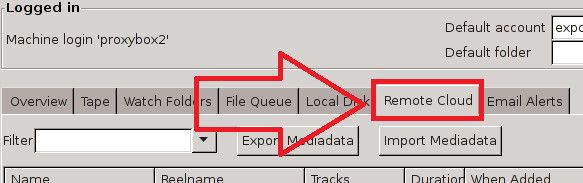
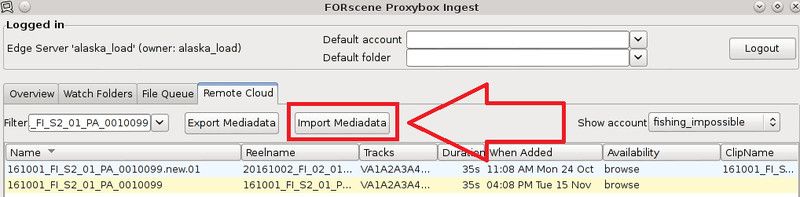
3. Go to the "Remote Cloud" tab which should now be visible.
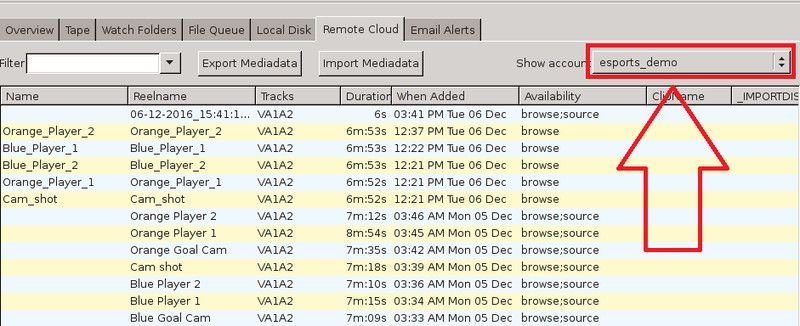
4. Select your Account (production name) from the dropdown menu on the top right.
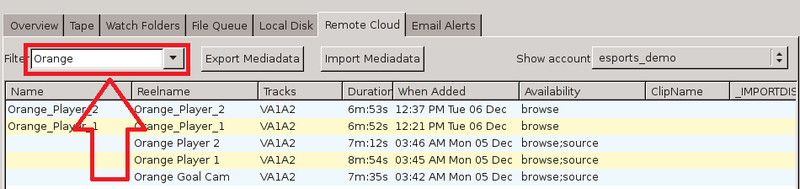
5. Search for your media using the "Filter" tab on the top left.
6. Use the "Export Mediadata" to export a CSV file of the metadata. Save this to the Desktop.

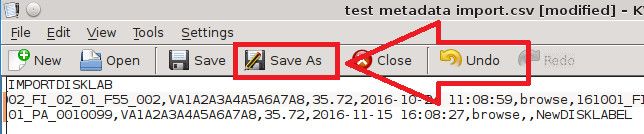
7. From the desktop, double click on the CSV file to open it. You can then make the changes you need.
You then need to change the value for the "IMPORTDISKLAB" to change the disklabel.
Please read the information below if you are unsure about working with CSVs:
Looking at the top line, these are all of the values that are changeable.
Every other line is referring to a different piece of media.
The top line will tell you what position the piece of media is. For example if you are looking for the Disklabel on the top line, and this is written after the last comma, the disklabel will be the text that is after the last comma on each line.

8. Save this CSV as a new file by using the "Save as" option which can be found under the File menu. Remember to rename your file to something new (and memorable).
9. Back on the Forscene Load program, click the "Import Mediadata" button and select your new CSV.
10. Your CSV will now be scanned and you will be asked to confirm making this change.
Since we saved a new CSV, we can always revert back to the old one if you have made any mistakes and need to undo changes.
If you're still having trouble please contact us at support@blackbird.video and one of our Support staff will then contact you with suggestions on how to resolve this issue.