When you first use Blackbird you land on the Blackbird control centre – you log in with your given Blackbird username and your password and are then presented with choices of action.
Once you are authenticated here, your choices are many and depending upon your account settings, you could:
upload graphics; sound; metadata or other documents used in production
inspect arrivals folders; media area; or publishing areas, for new content
configure settings in the account for your work team
create publishing tasks as pre-set buttons, to set those tasks in motion
pore over statistics – if that is your thing and your account is set so
launch the Blackbird cloud video editor
professionally edit video for production use (even live video)
work with your distributed team in the cloud from anywhere
no waiting on decisions – publish in-progress work, reviewable anywhere
The latter is, of course, what our users see as the most revolutionary aspect of the whole Blackbird system. The Blackbird cloud architecture, whilst not being quite so visible, is of course just as revolutionary.
The Blackbird cloud video editor is where video editing takes place, and this is a separate application from the control panel you have just logged in from. We shall look at the editor first, and then explain how to get your media into the system for editing, after which we will return to the control centre for more coverage on ingesting and publishing tasks.
Once you are authenticated, as described above, you may choose to edit video, but you may also wish to configure tasks and account aspects; inspect locations; upload additional content, among other choices.
Like almost all online products, to use the Blackbird platform a customer requires an account. There are, however, several refined distinctions beyond simply having an account. The Blackbird platform (and the many products which constitute our solutions) are professional, as are all of the users. There is at any given time a considerable amount of commercial and industrial video media work flowing through the system – typically the productions of any number of real-world broadcast or production customers.
Who’s using what?
The main effect of these account differences which a user at a given level will experience is largely concerned with what they will (or will not) see, and consequently, what actions they are able to take.
In media industries such as yours, the work will frequently belong to a project, the project may commonly constitute a series or sequence of episodes or instances or shows. Working the other way out, each project will form a part of an overall portfolio of product for that production house, broadcaster or syndication source. Hence, some staff working on some of these categories do not need access to (or even need to know the existence of) other such categories within an account. A production may or may not overlap the assets or requirements of another production from the same organisation. An episode or show may or may not share assets or content with another show or episode of the same series.
Of course, different clients will have different organisational structures for their work and workforce, hence the apparently complex approach to account management.
Access levels
In addition to your Blackbird account, you will have an “access level” associated with a “role” (assigned by a holder of the account manager role). As an example, some frequently encountered roles are “Reviewer”; “Logger”; “Editor”. A visible effect of changing an access level is that certain features, buttons, controls will be present or absent in the user-interface layout. This can become evident when a user can access more than one Blackbird account or project and their roles differ in each (not a common occurrence but not impossible either in organisations with more than one output in production at a given time – usually a person would have the same role if they are in more than one account).
Blackbird has several pre-set user access levels, already defined for commonplace role types. This helps a “turnkey” setup get up to speed quickly. Further roles with custom access and feature visibility may be defined by the account manager.
Logging in to your Blackbird Control Centre
The Blackbird Control Centre is entirely web-based (as distinct from the Blackbird Cloud Video Editor, which also runs on a computer as an application). The Blackbird login page is your cluster prefix at the https://blackbird.video domain. From this page enter your unique User ID and password, click Enter and you shall see the Blackbird start page:
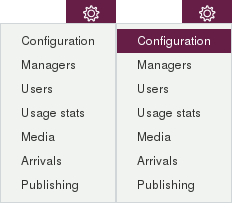
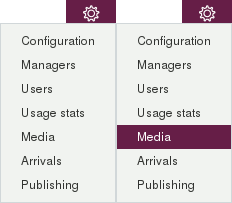
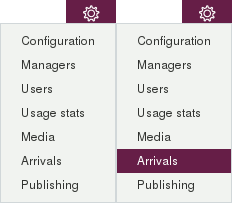
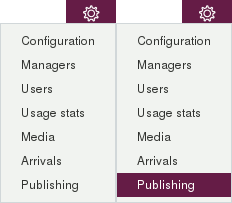
The “cog” icon and drop-down menu, for those users with the appropriate status The “cog” symbol: Among the ones you could find useful immediately are:
|
You will see all of your Blackbird account(s) and projects from here, each account having a separate panel with interface launch buttons. These buttons indicate which tasks a given account permits, contingent upon the access level assigned by the account manager. The task buttons typically might include “Upload”; “Review”; “Log”; “Edit”.
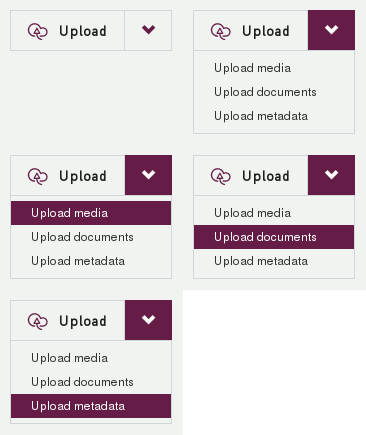 The “Upload” button is not generally used for getting your video shoot into the cloud – that is what the Blackbird Edge Server is for. The “Upload” button is for adding to your project various small items of media – sound, graphics, brief video clips, EDLs, and other documents. 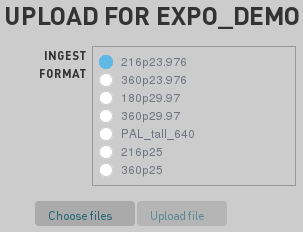 For brief video clips you will see an additional panel of ingest settings for choices of proxy sizes. Shown is an example, on an account we have named Expo_demo, with many options visible. Your account is likely to have a few such settings, contingent upon setup. |
Settings for launching
The standard program operating settings of the interface (typical for most computers, in most situations) are in effect when you click the button for your chosen task. These settings pertain to whether a computer might have a lot or little memory, and how audio is handled (which becomes evident when voiceover is required). To help when using certain low-end computers, there are some customised variants of the program settings applied upon launch.
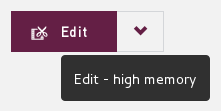
- Edit – default action
When clicked as a button, rather than selecting one of the drop-down menu items, Blackbird will run using the normal memory requirement.
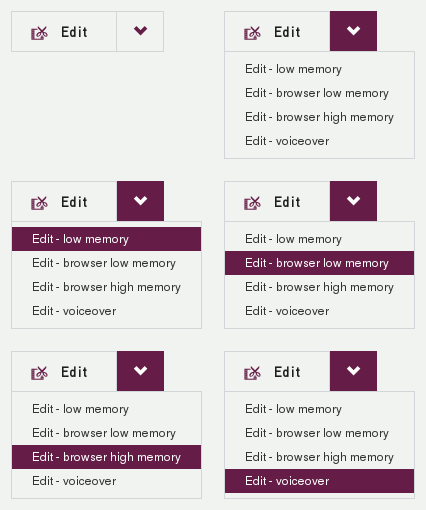
- Edit – Low Memory
This decreases the cache size requirements.
- Edit – Browser
Launches in a browser window (required for the Java app, where the “Java runtime” is not allowed to be installed on corporately owned computers).
- Edit – Browser Low Memory
A combination of both of the above options.
- Edit – Voiceover
This will demand a high memory footprint (although most reasonably-well specified modern computers should suffice in this) and also allows the audio input architecture to run, for voiceover recording requirements.
| Edit – Voiceover is only available to a user if the account manager has set it to be so. |
| The downloadable “Java Runtime” (which allows Java programs to run) will normally have to be installed on the intended computer, unless you are using our new JavaScript version of the Blackbird cloud video editor – our full-specification professional video editor capable of running entirely in a browser. If you need the Java Runtime, download it (free) from www.java.com and pick the one relevant to the computer operating system you intend to install it on. |
Media / asset handling features for manager status users
As mentioned above, different user ‘roles’ are often set to differentiate the features available to users on different projects within their accounts. One such example is found in the sidebar – the Media button, which is only present if the user has been given the appropriate manager status. The following describes the use of the Media button
Browsing media residing on a Blackbird Edge / cloud
In the Blackbird control centre there are many tasks and destinations available. For a user with a manager status it is useful to be able to quickly browse available media. This is possible from within the Blackbird control centre (contingent upon the user’s role).
Each actual video file is represented by a thumbnail, name, proxy size, active tracks and duration. Double-clicking on a video file will open up a video player in the control centre itself.
| Again, these features will only be evident (from the Media toolbar side button) if the user has the required manager status. A logger or reviewer, for example, will not see this, or many other media asset management features. |
Detailed information on the right of the window
Along with said player, more extensive detailed information about the particular video file playing is available on the panel to the right of the player. For media assets such as video clips, three tabs are visible:
- Details
Identification details of various kinds.
- Media data
The file name and a list of shots entered from logging sessions.
- Locations
Where on the Blackbird cloud or Blackbird Edge Servers the media exists, and in which forms (proxy / original).
Other media types will display different tabs, for example edits or selections will show a “Sequence” and “Sources” and “Previous versions” tab, as these media are actually types of EDL (edit decision list).
Launching the Blackbird cloud video editor
From the Blackbird control centre, clicking Edit will launch the Blackbird cloud video editor.
| Clicking on Edit will launch the Blackbird Forte cloud video editor. The button also has dropdown menus: Default is “high memory”, which will launch Java with about 1GB RAM allocated to it; “low memory” only uses about 400MB RAM. There are additionally browser options, which are similar, but launch Blackbird Forte within a browser window. Edit – voiceover is for real-time voiceover, and has elevated priviledges to allow access to popups, using only about 400MB RAM. |
| Depending upon the computer you are using, and depending upon the application basis, you may be prompted to run a Java-based app, or you may be forwarded to a web-based app. Both are equivalent, either will offer the same features. Some users find it hard to install or run the Java runtime (for which there are several startup options selectable in the Edit button). Recognising this, our Blackbird Forte JavaScript cloud video editor is a new advance – unlike Java, JavaScript requires no installation. |
Having logged in and clicked the Edit button, you will see the Blackbird cloud video editor area, which is mostly dark coloured for ease of extended sessions of production viewing. There will be at least one video playing panel, and a timeline area. There will also be a strip of buttons along the left-hand edge of the area. From these buttons, folders of assets are made to appear. All of the panels (players, recorder, folder viewers, timeline) may be dragged around to your liking. A left-edge button Setting allows you to save your working layout.

